STEP 8: Rocking the Waterfall
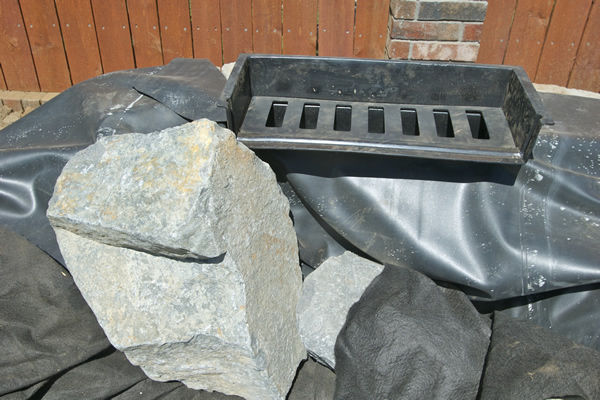
At this point the assembly of your American Pond waterfall kit equipment is complete and the process of adding rock to your waterfall and basin begins. Start at the waterfall and work your way to the basin.
You will want at least 3 different types and sizes of rock for your project. 1. Large rocks or small boulders for the waterfall or stream will add character and make the feature look more natural. 2. Small to medium size rocks to build up the sides of the waterfall or stream and to fill in the bottom of the basin. 3. Gravel or small river rock to fill in exposed areas of liner in the waterfall or stream and to top off the basin.
The rocks for the face of your waterfall and stream are a matter of personal preference. It should be noted that the most nature looking waterfalls follow some simple guidelines.
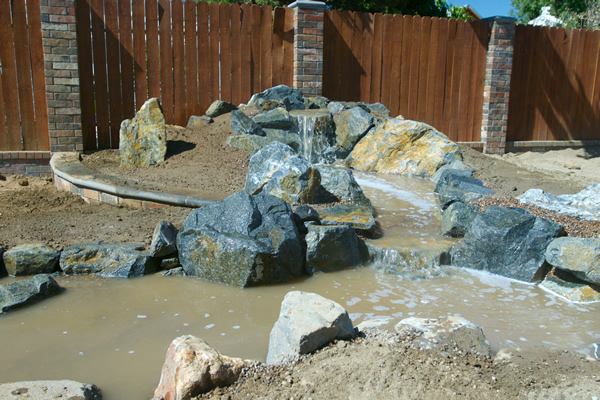
Choose two very large rocks of slightly different sizes for each side of your waterfall spillway.
Use the least amount of rocks stacked on top of each other to create a more natural look.
Choose varying size rocks/small boulders (6-18 inch) for the sides of your stream. What you are trying to avoid is having all rocks looks the same color and size. That would make a very unnatural looking water feature.
A natural looking stream will not have a string of rocks lining it. Alternate between rocks, grass, mulch, dirt and gravel for the most natural looking stream. Consider locating plants that meet or overhang the edge of the stream.
In nature you will see rocks of all shapes and sizes in mountain streams. Leave some rocks in the center of your waterfall or stream sticking out above the water. This divides the flow of water and is very realistic looking.
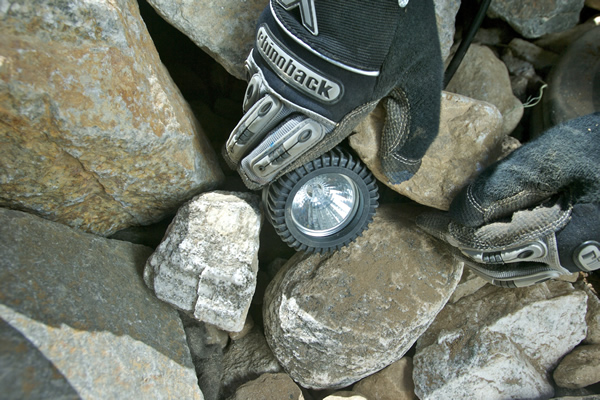
If you have purchased low voltage underwater lighting place them in the waterfall or stream at this time.
Try to place the light body in between two or more rocks pointing out. This will conceal the light from view during daylight hours. Lights at the base of the waterfall pointing up are popular and allow you to continue viewing the falling water after dark.
Use the can of rock foam that is included with your kit to fill in cracks between stacks of rocks. Use foam where flat rocks meet the liner to keep the water flowing above them.
TIP: When filling any cavity with the pond foam it is important to remember to only fill to 1/3 of the capacity. The foam will continue to expand and if you overfill you will have foam oozing out everywhere.
This foam is very sticky and it will forever ruin cloths that it touches! Wear gloves and old cloths when applying. Foam that gets on your skin will wear off in a week or two.
On areas that are foamed you may want to toss a handful of gravel or river rock. The gravel will stick to the foam and cover up the exposed foam. Foam is black upon application but if left exposed to the sun it will turn a yellowish brown over time. It is best to conceal foam with rocks or gravel while it is wet.
Foam will dry within 12 hours and any excess foam that is protruding out can be cut off with a utility knife at that time.
You may choose to utilize flat rocks on the different levels of your waterfall to create extended drops that add both sound and visual pleasure to your feature.
When filling your basin larger river rock or cobblestones can be put into the basin first with more expensive or nicer looking smaller river rock on top.
Larger rocks can be set randomly on top of the rock filled basin to create a natural look.
If using American Pond Basin Cubes for your structure even heavy boulders can be placed upon them for added appeal.
